Ready to Start Selling?
Connecting to Stripe Payment Gateway
Stripe is behind the scenes for some of the biggest names, such as Amazon, Xero, Zoom, Instacart, Uber, Google, Shopify, and Lyft, just to name drop a few. Stripe sits at the top as one of the most respected and well-trusted platforms in the world.
Connecting your Seller account to Stripe’s Payment Gateway is an important step to get you started in selling your products and being paid.
- First, log in to your Seller account. See here for guidance on logging in to your Seller account
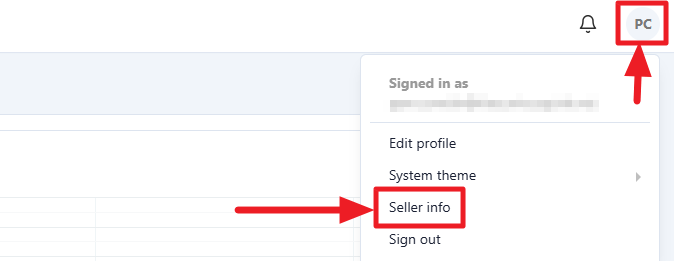
- Click the Seller two-letter circle located at the very top right-hand side. This will then open to where you can edit your Seller account. Click-on the Seller info in the dropdown menu, which will then take you to some general settings.
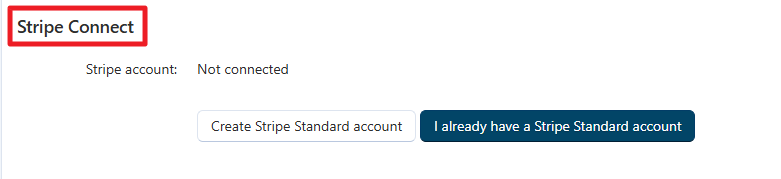
3. Scroll down to the very bottom of the page to the Stripe Connect section and click on the applicable Stripe button. This will direct you to the Stripe page, where you can register an account or connect an existing one.
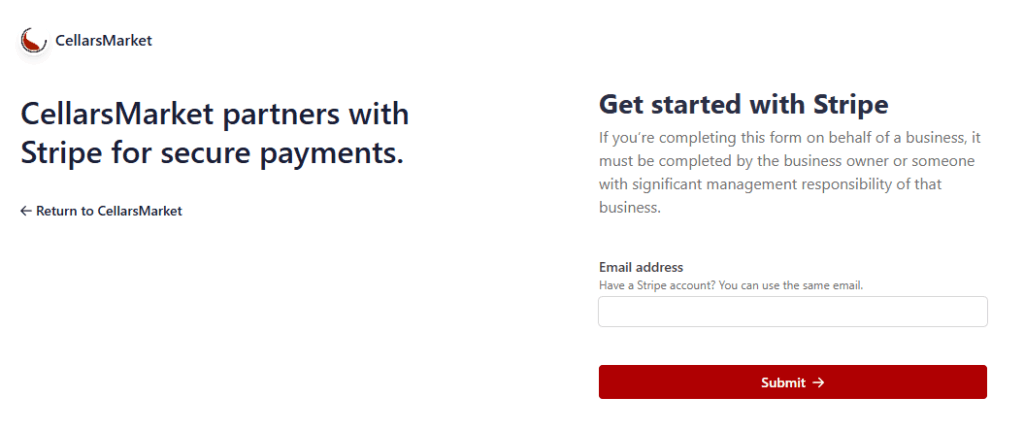
4. You will be taken to the Stripe application page. If you already have an existing Stripe account, you can connect your CellarsMarket store to it. Otherwise, please complete and follow the steps to open a Stripe account.
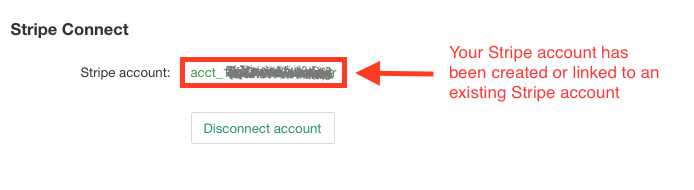
5. Success! Once completed and successful, you will be taken back automatically to your CellarsMarket account. A brief message will appear, stating that you have successfully opened a Stripe account. Your account will display a button to Disconnect account (which means you are connected). DON’T click it as it will disconnect what you have just done, and you will need to go through the process again to reconnect.